Tuesday, May 3, 2011

Layered Mint Chocolate Brownies


I know that it has been so long since I have posted. I won't bore with you a million excuses why (all of which are totally valid) ,but life has been happening here. But my first post back is a good one, I promise you that.


So many good things happening all at once with these babies. A layer of brownies, then a layer of icing , and then a layer of chocolate. So much goodness wrapped up in one!

I got this recipe from the "Worldwide Ward Cookbook". As soon as I saw it I knew I had to make it. I have made it several times and it is always a fav.


Mix;
Butter
Cocoa
Sugar


Add;
Eggs, one at a time

Beating well after each one


Stir in
Flour


Pour into a greased 9X13 pan.


Bake at 350 for 25 minutes. (Make sure that the center is done)

Let cool completely


Mix;

Butter

Powdered sugar


Add;

Milk, add only enough to make a smooth consistency.


Add,

Mint Extract

Green Food Coloring


(You can change the color and the flavoring that you use depending on what you want)


I have actually contemplated doubling this layer, just because it is so good. But I haven't yet.


Spread over brownie layer.


Refrigerate until firm


Melt,

Chocolate Chips

Butter


Stir.


Pour over frosted brownie, spreading to cover.


Refrigerate until topping is set


Oh look at that layer of icing.


Layered Mint Chocolate Brownies


Brownie:

1 cup butter, melted

2/3 cup cocoa powder

2 cup sugar

4 eggs

1 1/2 cup flour


Mix butter, cocoa, and sugar; add eggs, one at a time, beating well after each one. Stir in flour. Spread into a greased 9X13 pan. Bake at 350 degrees for 25 minutes. Let cool completely.


Mint Frosting:

1/2 cup butter, softened

2 cups powdered sugar

1-3 tbsp milk

1/2 tsp mint extract

green food coloring


Mix butter and powdered sugar. Add only enough milk to make a smooth consistency. Add mint extract and enough food coloring to make a light green color. The frosting will be thick. Spread over brownie layer. Refrigerate until firm.


Chocolate Topping:

1 1/2 chocolate chips

1/2 cup butter


Melt chips and butter in micorwave to 2-3 minutes. Stir well to combine. Pour over frosted layer and spread to cover completely. Refrigerate until topping is set and hardened.


Let brownies sit at room tempurature for 10 mionutes before cutting. Cut with a sharp knife.


Sunday, March 20, 2011

Sweet Pumpkin Doughnuts


Ok, How cute are these mini-doughnuts. I know, right!! Well not only are they cute but they are good for you!


I got these new pans and I was really wanting to try the recipe that came with them, but I am trying to eat a little better (and by that I mean cut out junk). So I wanted something a little healthier to make with these pans. I got this cookbook and found a recipe for these little doughnuts and I knew I had to make them ASAP. (PS, I really like this cookbook)

Sweet Pumpkin Doughnuts is not the actual name from the cook book; they just called them 'Doughnuts' which is a little vague. I call them Sweet Pumpkin Doughnuts and it describes them perfectly.

Don't worry, if you don't have a mini doughnut pan you can just use a mini-muffin pan. Or get yourself a doughnut pan because any muffin recipe that you make you can turn into a mini doughnut. Fun Fun Fun. I found mine here.


In a bowl beat together;

Sugar
Pumpkin puree
Sweet Potato puree


Add;

Milk
Egg whites
Margarine
Vanilla


Add;

Flour
Baking Soda
Baking Powder
Spice


Pour your batter into plastic/pastry bag and cut the tip off one side (not if you are using pastry bag)
Squeese the batter into the pan. (Look at me in action!!)


Be sure to coat your pan with non-stick cooking spray.


Bake at 350 degrees until tops are lightly browned, 20-25 minutes
Turn onto cooling rack.


Dust them with confectioners' sugar.
They are good. They were gone within a few hours at my house. Both my kids and my hubby liked them. I made it with whole wheat flour, I think that regular white flour would give it a completely different taste.
I will be making these again forsure.
Sweet Pumpkin Doughnuts
1/2 cup firmly packed light or dark brown sugar (I used 1/4cup brown sugar Splenda and 1/4 cup regular brown sugar)
1/2 cup canned pumpkin puree (I froze the rest for another time)
1/2 cup sweet potato puree (I had some in my freezer left over from this)
1/2 cup skim milk
1 large egg white
1tbsp trans-fat-free soft rub margarine
1 tsp vanilla extract
1 cup all purpose flour, or whole-wheat pastry flour
1tsp baking soda
1/2 tsp baking powder
1/2 tsp cinnamon or pumpkin spice
1/4 cup confectioners' sugar
Preheat oven to 350 degrees. Coat doughnut or muffin with non-stick cooking spray.
In a large bowl, beat together the sugar, pumpkin, and sweet potato purees. Add the milk, egg white, margarine, and vanilla. Add the flour, baking soda, baking powder, and spice. Mix until completely incorporated


Pour the batter into a large plastic storage bag (ziplock freezer bag) or use a pastry bag). The the bottom tip of one side of the bag. Squeeze the batter into the mold. Bake for 20-25 minutes or until tops are lightly browned or a toothpick inserted comes out clean. Turn the doughnuts onto a wire rack.
Let them cool completely. When cool dust with confectioners sugar.
Makes about 2 dozen mini-doughnuts.

Wednesday, March 9, 2011

Fire Roasted Tomato Chicken Tortilla Soup


It is a long name for soup, but it was so good. Like really good!! I know I always say that, but I always mean it.

The best part about this soup is that it was made in the slow cooker. The past two nights I have made dinner in the slow cooker and it has been so nice. I still have to do prep work, but I can do it earlier in the day when my kids are in better moods and can play by themselves instead of hanging at my feet crying at 5pm when I am try to get dinner going. Slow cooker meant that at 5pm when they are wanting my attention, I could give it to them. It was lovely!

I was in Cranbrook this weekend and saw this cooking magazine at my friends place (Hi Jen) and copied a few recipes out of it, but then just ended up going to buy it anyways. I have a deep love of magazines and of cookbooks, so when I see a cooking magazine, it is like the best of both worlds, I can't turn it down. This current magazine is the Pillsbury Slow Cooker. It has some really good recipes in it.


In slow cooker combine;

chicken thighs
chicken broth
corn
fire roasted tomatoes (you can use regular diced tomatoes if you don't have fire-roasted)
black beans
red pepper
onion
chilli powder
cumin
salt
cayenne pepper


add in 6 corn tortillas, that have been cut into 1/2 inch strips

Cook on low for 5-7 hours or on high for 3-4 hours. Until chicken is cooked.


Once cooked, remove chicken and shred with 2 forks.


Return it slow cooker


Stir in cilantro


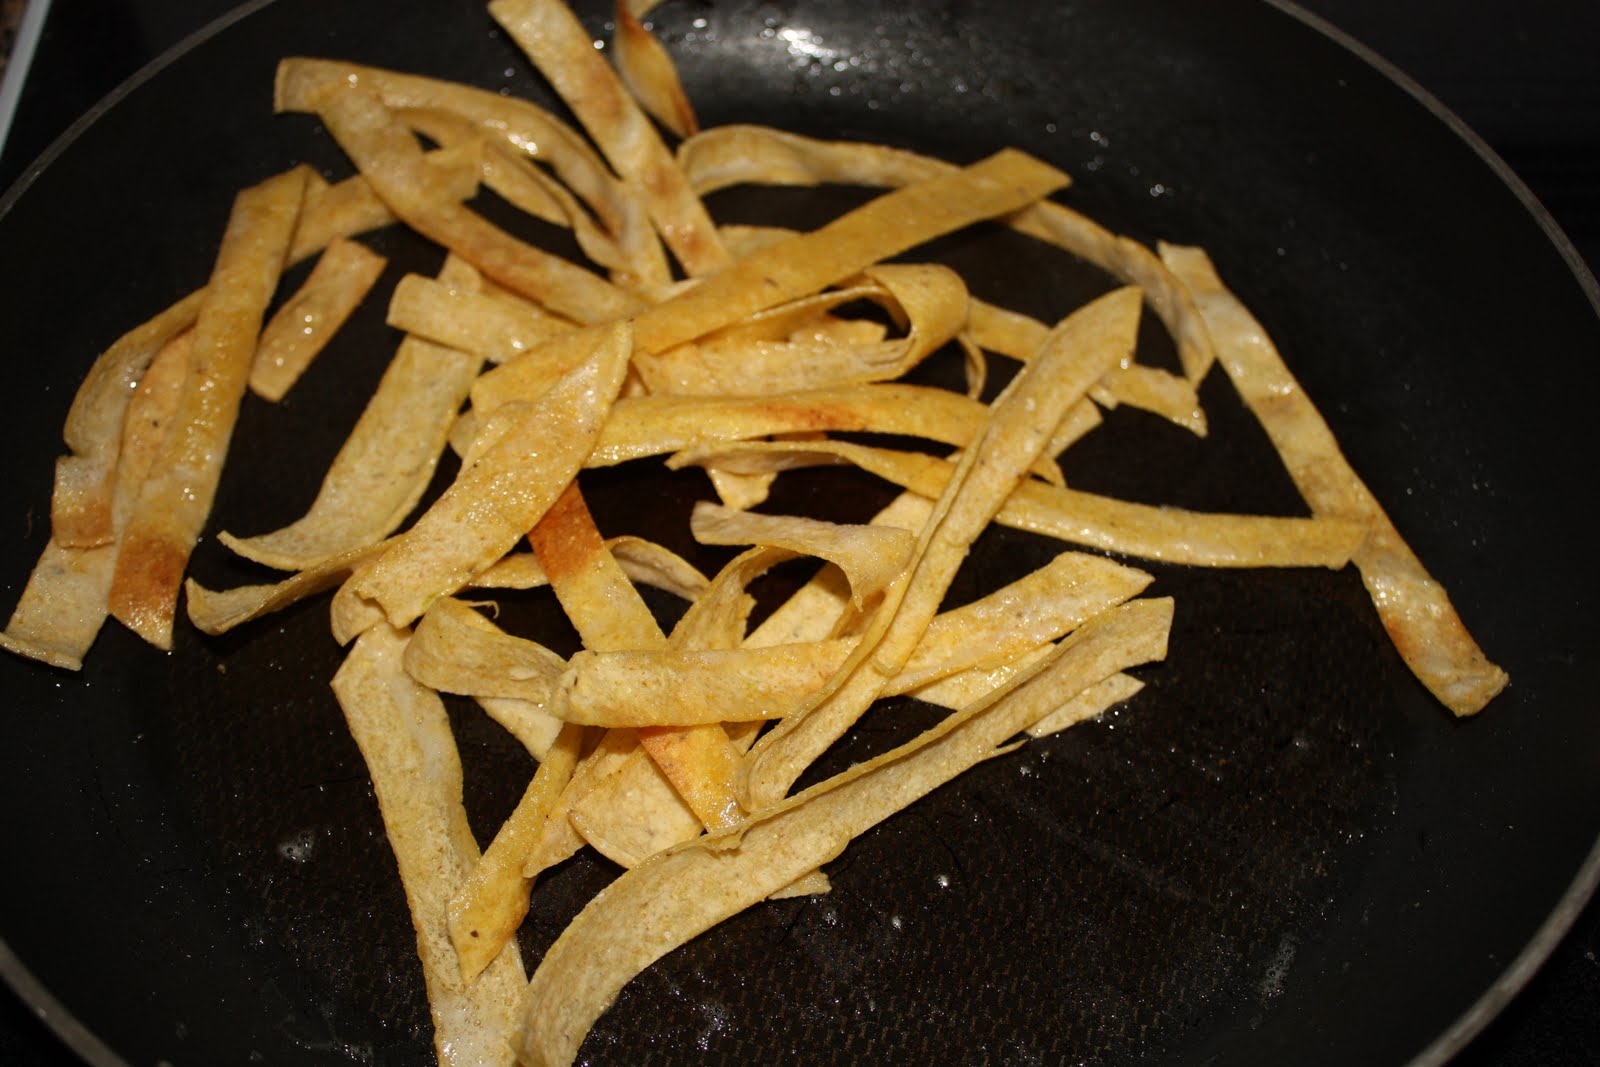
In a frying pan heat oil then fry strips of 3 remaining tortillas until crispy.


Serve soup with avocado and strips and lime wedges (I didn't have limes-but I'm sure it would be good)


1lb bonelss skinless chicken thighs
1 carton (900ml) chicken broth
2 cups frozen whole kernel corn
1 can (14.5oz) fire roasted diced tomatoes, undrained
1 can (15oz) black beans, drained and rinsed
1 red pepper, chopped
1 medium onion
9 corn tortillas, cut into 1/2-inch wide strips
1 tbsp chilli powder
1 tsp ground cumin
1 tsp salt
1/4 tsp cayenne pepper
1/4 cup chopped fresh cilantro
2tbsp olive oil
lime wedges, if desired
chopped avocado, if desired
In 3-4 quart slow cooker, combine chicken, broth, corn, tomatoes, black beans, red pepper, onion, 6 of the corn tortillas, chilli powder, cumin, salt, and cayenne. Cover, cook on low for 5-7 hours or high for 3-4 hours or until chicken is cooked.
Removed chicken and shred with 2 forks. Return to slow cooker. Stir is cilantro.
Heat oil in frying pan. Cook strips from remaining 3 tortilla in oil over medium heat for 3-5 minutes, stirring occasionally, until crisp and light golden brown. Top individual servings of soup with tortilla strips, lime wedges and avocado.

1 serving= 1 1/4 cups - 350 calories, 11g fat, 22g protien, 9g fiber

Wednesday, March 2, 2011

Chicken and Wild Rice Soup


With all this cold Weather I decided that we needed to have some soup to warm us up. The recipe is from my sister-in-law. She served it to us over Christmas and I HAD to get the recipe right away. I don't usually go back for seconds at meal time, but this I did.

To me, this is a dressed up version of chicken soup. The rice is a nice change from classic noodles in chicken soup and the creamy consistancy makes it so yummy.


In a large pot add,

3- 14oz cans of Chicken broth
1 small onion, chopped
2-3 carrots, sliced
3-4 ribs celery, sliced
1tsp salt
1tsp pepper

Cook until tender.

In another pot cook,

1- 180g pkg of Uncle Bens long grain and wild rice mix

Cook according to pkg directions omitting butter.


In a medium sauce pan,

melt 1/3 cup butter

Then add,

1/3 cup flour

Stir until a smooth paste is formed


Slowly add,

2 cups milk

Stiring constantly until sauce is thickened.


Add white sauce to broth and vegatables until smooth


Add,
Prepared rice
2 chicken breasts cook and cubed
Cook soup until hot, do not boil.


I served it with some homemade buns. So good.


Chicken and Wild Rice Soup

1 – 180g Uncle Ben’s long grain and wild rice mix
3 – 14oz cans chicken broth
1 sm onion
2-3 carrots, sliced
3-4 ribs of celery, sliced
1 tsp salt
1 tsp pepper
1/3 cup butter
1/3 cup flour
2 c. milk
1-2 chicken breasts (cook and cubed)

In a large soup pot or saucepan, cook onions, carrots and celery in chicken broth until tender. In a medium saucepan melt butter and add flour, stirring until smooth paste is formed. Slowly add milk, stirring constantly until sauce is thickened. Add white sauce to broth and vegetables, stirring until smooth.
Cook rice according to packaged directions (do not add butter).
Add chicken and rice. Cook until soup is hot, but not boiling.

Serves 4-6

Thursday, February 3, 2011

Vanilla Bean Scones


A few weeks ago I went to Starbucks and saw that they had some new little scones on the menu. They looked so good that I had to get them and try them. I was right. They were so good. I knew that I had to find a recipe that would be just like (or pretty darn close) to these bite sized little gems.
I was so glad when I was able to just google it and found so many recipes. I guess lots of other people tried these scones and wanted them too. I chose the first recipe I found (because they all looked good).
I found the recipe at The Pioneer Woman. Petite Vanilla Bean Scones.
I loved them.
I didn't take pictures of the process because she did such a good job of it for me. I just took a picture of the finished product.
Enjoy!

Monday, January 24, 2011

Mayonnaise Biscuits


Almost 10 years ago I started collecting recipes from Weight Watchers. I figured they were healthy recipes, so not a bad idea to collect and use them. I have a huge binder full of recipes. I decided that it is about time that I start to make some stuff from it. The other morning I felt like baking something, but was alittle short on time. So I opened up the binder and picked something that looked easy. I have to admit that when I first read the recipe I was a little unsure. So unsure that I didn't take any pictures of the process, because I wondered how they would taste. I made them and then tasted them and decided that I would share the recipe with you. They were actually good. I won't lie, I was shocked. Even Brett came home and ate most of them (not all at once).
Mayonnaise Biscuits
2 Cups Flour
1 Cup Fat Free Mayonnaise
1 Cup Skim Milk (can use 1%)
2 tbsp Baking Powder
Dash of Salt
Combine all ingredients. Drop into greased muffin tins. Bake at 400 degrees for 20 minutes.
Makes about 12 Biscuits.

Monday, January 17, 2011

White Chocolate Macadamia Nut Cookies


I must be in the mood for cookies because here I am posting about more cookies. I have always wanted to make white Chocolate Macadamia Nut Cookies. I love them. I have never made them before, so I didn't have a recipe or really know anyone with one that they liked. So I turned to the trusty old internet and found one on Allrecipes.com. There were alot to chose from on there, but I chose the one that sounded the best. And I was right, they were good.


Cream together:
1 Cup butter, softened
3/4 Cup Brown Sugar
1/2 Cup White Sugar

Cream till it is smooth


Beat in:

2 Eggs, one at a time
1/2 tsp Vanilla Extract
1/2 tsp Almond Extract


In a seperate bowl combine:

2 1/2 Cups Flour
1 tsp Baking Soda
1/2 tsp Salt


Gradually add flour mixture to butter/sugar/egg mixture.


Add:
1 Cup Coarsely Chopped Macadamia Nuts
1 Cup White Chocolate Chips (I actually added the whole bag, which was about 1 1/2 cups)
Mix until just combined


Drop by teaspoon on to an ungreased cookie sheet


Bake at 375 degrees for 10 minutes.


Cool on a wire rack.


Look how good those look!!!

Ingredients
1 cup butter, softened
3/4 cup packed light brown sugar
1/2 cup white sugar
2 eggs
1/2 teaspoon vanilla extract
1/2 teaspoon almond extract
2 1/2 cups all-purpose flour
1 teaspoon baking soda
1/2 teaspoon salt
1 cup coarsely chopped macadamia nuts
1 cup coarsely chopped white chocolate
Directions
Preheat oven to 350 degrees F (175 degrees C).
In a large bowl, cream together the butter, brown sugar, and white sugar until smooth. Beat in the eggs, one at a time, then stir in the vanilla and almond extracts. Combine the flour, baking soda, and salt; gradually stir into the creamed mixture. Mix in the macadamia nuts and white chocolate. Drop dough by teaspoonfuls onto ungreased cookie sheets.
Bake for 10 minutes in the preheated oven, or until golden brown.